Saturday, December 14, 2013

The Coziest Place (Book Review)

 
In continuing our 25 Days/25 Books, we read the book
 
The Coziest Place by Jamie Michalak
illustrated by Jon Davis
 
While, this isn't a Christmas book per say, it does inspire the joy of family and love and just being with your loved ones all cozy and warm and enjoying each other's company
and that is why I chose this as one of our books to read.
 
 It is absolutely the sweetest book ever,  The rhyming words are soothing and the pictures make you want to climb right inside the story and get cozy right along with the family.
 
"Cozy is our little home-
full of love, no need to roam.
Feeling toasty, safe, and snug,
wrapped up in a big bear hug."
 
It also inspired the idea of decorating our gingerbread home.


you can't decorate a gingerbread house without hot chocolate.

 
"Cocoa, woolly socks, and big bear hugs-
celebrate all things warm and
cozy with your little one!"

 
I highly recommend adding this to your child's bookshelf!!
you'll thank me for it later ;)


*Disclosure: I received a copy of this book for review purposes only.  The opinions herein are my own and were not influenced by Tiger Tales.


Monday, December 09, 2013

Spaghetti Christmas Wreath

 
to make this wreath you will need:
glue
green food coloring
spaghetti (we used angel hair pasta, cause that's all I had)
small styrofoam bowl (or something you won't mind being ruined)
craft stick (to stir with)
ribbon
 
break the spaghetti up into small pieces (about 1/4 to 1/2) you need at least 1/2 cup (for a small wreath - more if you want a slightly bigger wreath
 
mix together glue (about 1/2 cup or so) and food coloring, stirring with the craft stick.
add the spaghetti to the glue mixture and stir it around so that the mixture covers the spaghetti
 
 
on a sheet of wax paper, shape the spaghetti into a wreath
 
let it dry over night, peel the wax paper off and let the other side dry.
 
 
make a little bow out of ribbon and glue on the wreath (for decoration)
 
and attach another ribbon so that you can hang it to the tree or on the wall.
 
 
We also read the book The Christmas Crocodile by Bonny Becker
The book really didn't have anything to do with our craft idea...other than the crocodile eats everything, including the family Christmas presents.
 
Nathan said well, we eat spaghetti so that kinda goes along with it.
 
 
gotta love kid logic!


Saturday, December 07, 2013

Rudolph the Red Nosed Reindeer

 
Tonight we read the book
Rudolph the Red Nosed Reindeer by Robert L. May.
 
Then we made a cute Rudolph ornament using an old tie.
 
I bought 2 old ties at the thrift store for 4 bucks.
 
 
you will need:
an old tie
brown felt (we used brown fabric)
google eyes
a red pompom
a sparkly pipe cleaner
glue
a ribbon to hang it with
 
Cut the ends off the tie (you might want to place a small dab of glue on the back of the flap).
 
 
Next cut the pipe cleaner in half and then in half again. 
Wrap one of the halves around the other for the antlers.


Glue the antlers to the inside of the top of the tie.
We ended up using fabric glue to make them stick better, but you could probably use
school glue or tacky glue.


Using the felt or fabric, cut some ears for the deer and glue them to the tie


Then glue the eyes and pompom to the face


Glue the ribbon to the inside of the tie so you can hang it on the tree.
 
 
Nathan also made a smaller one using the other end of the tie,
to make a pin for his coat.


Who doesn't love homemade ornaments (the Grinch, that's who)?!?!


Hope you are enjoying the holiday season as much as we are!


apron love

sharing some fun....
 
apron love.
 
this summer one of my aprons was bought and worn on the new tv show
 
the real (on fox tv network)
 
have you seen the show?
 
it's not in syndication that I know of, it was just a trial run
and only aired in select cities.
 
well, they did a segment on bacon
 
 
here's the eye candy, that wore my little ol' apron
 
 (picture courtesy of the show)
 
it was all about bacon and it was a  bit naughty....she's licking bacon 'lube' off of his arm haha
we (my family and friends) were super excited about it being on tv.
 
I said, I didn't know whether I should be proud or embarrassed by the whole thing
and even joked about making Chippendale costumes instead of aprons hahaha.
 
this little apron has been quite popular ever since
I've sold about 5 or 6 of them since then.  I'm currently out of them in my shop and need to make some more soon.
 
 
this week another tv show bought one of my aprons...
 
the costume department of the Michael J Fox show purchased this children's apron:
 
 
the very nice man who bought it told me that it is currently being considered for the show.
If it is chosen for the show, it will air in May.
 
How cool is that?!
 
Who would have ever thought that this little bitty hobby of mine,
that started out just for fun (and still is)
would go as far as it has.....
 
the kids think I'm famous now haha
I wouldn't go that far, but I will say it is really cool and awesome!
 
I think it's pretty neat when people share pics of themselves wearing my aprons...it's cool seeing something you created being used and loved by someone else.
 
Check out my little ol' shop if you get the chance....and keep an eye out - you never know when you might see one of my creations on tv hehehe!


Thursday, December 05, 2013

ode to the polar express

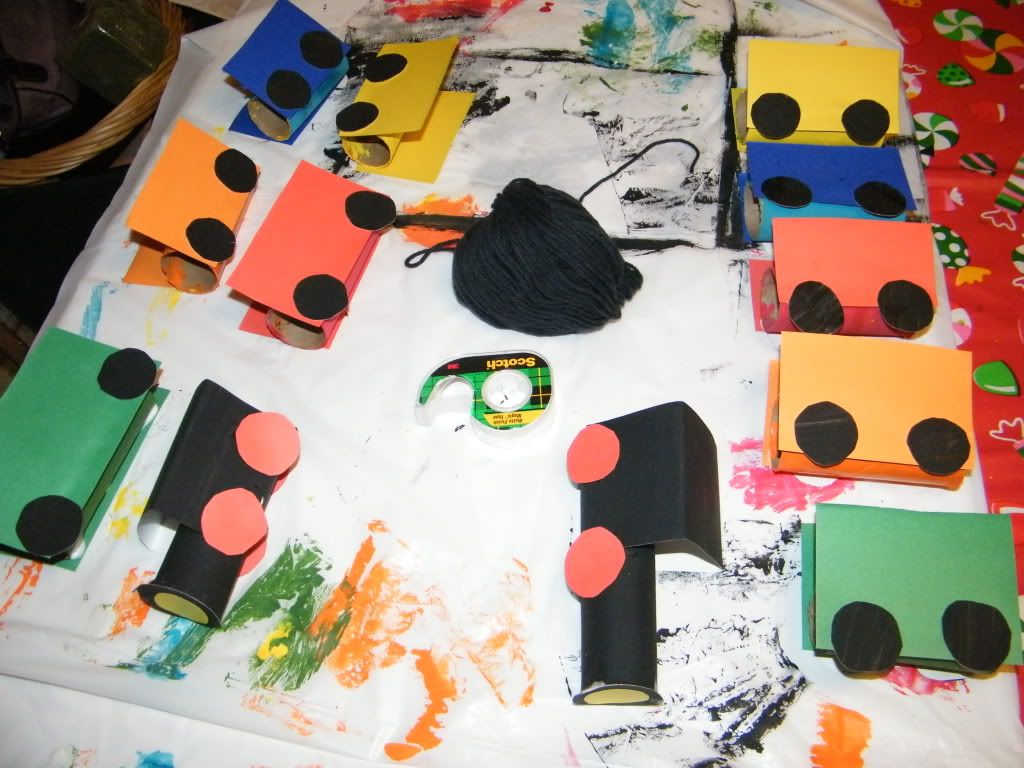
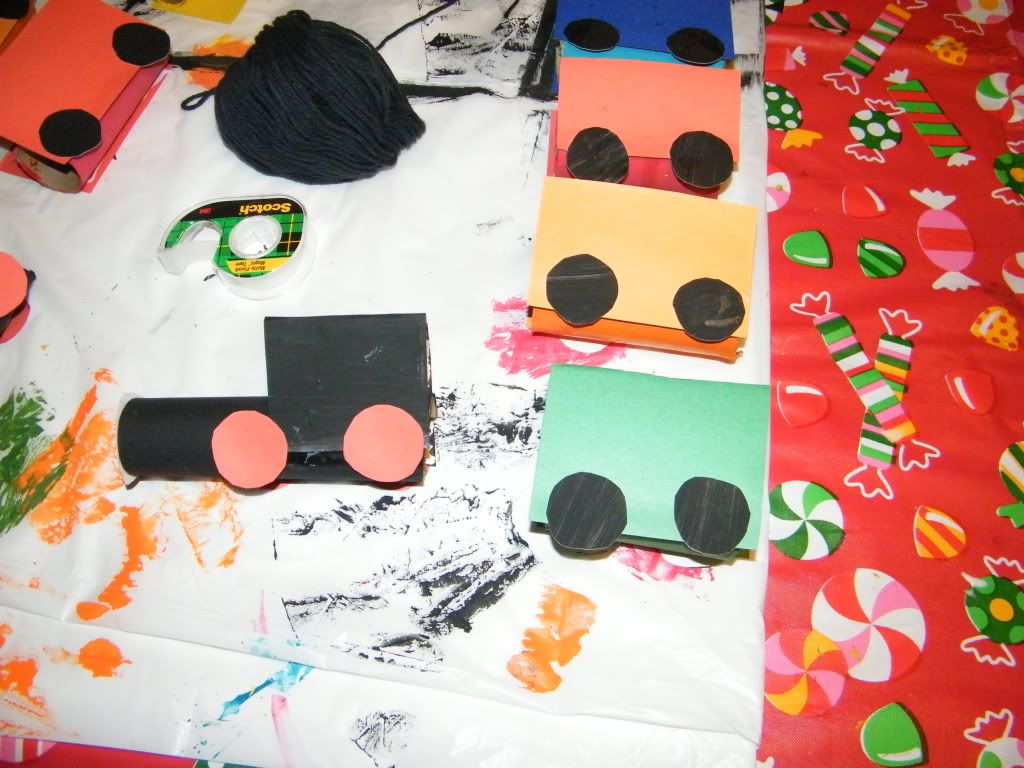
We made this awesome train a few years ago....it has been quite popular ever since.
It's the perfect craft to go with the book or movie
 
The Polar Express
(which is the book we used for the inspiration)
 
 
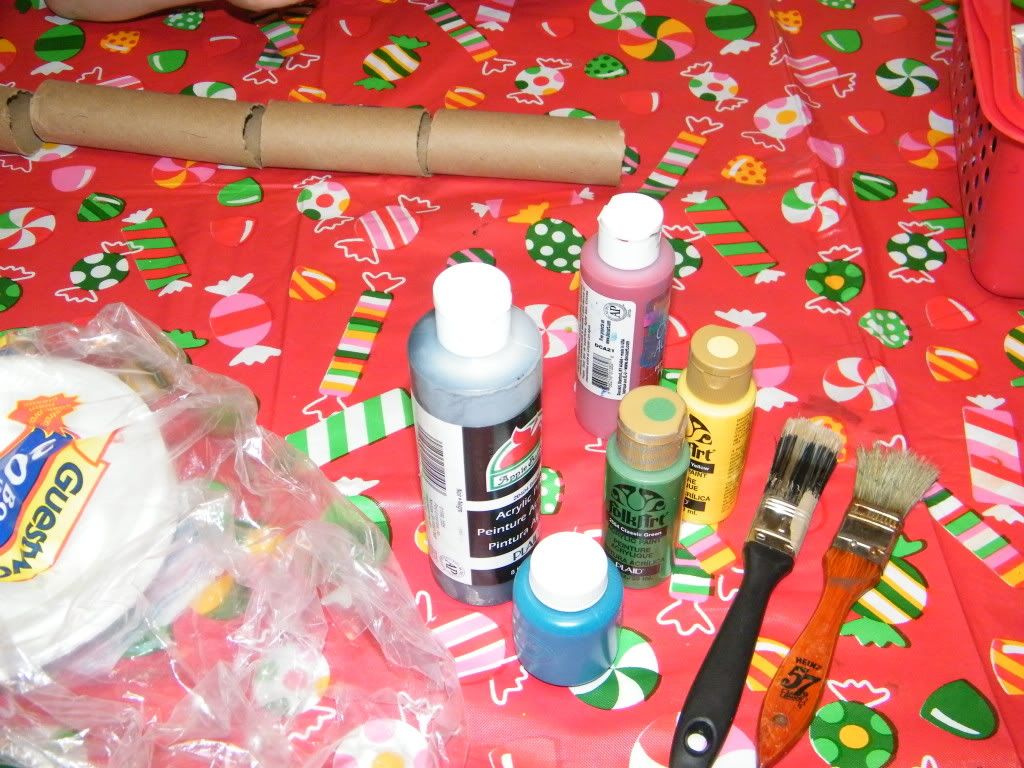
You will need empty toilet paper rolls or cut up paper towel rolls or even cut up wrapping paper tubes (which is what I used), paint, poster board, yarn, tape and tacky glue (because regular glue didn't stick very well).


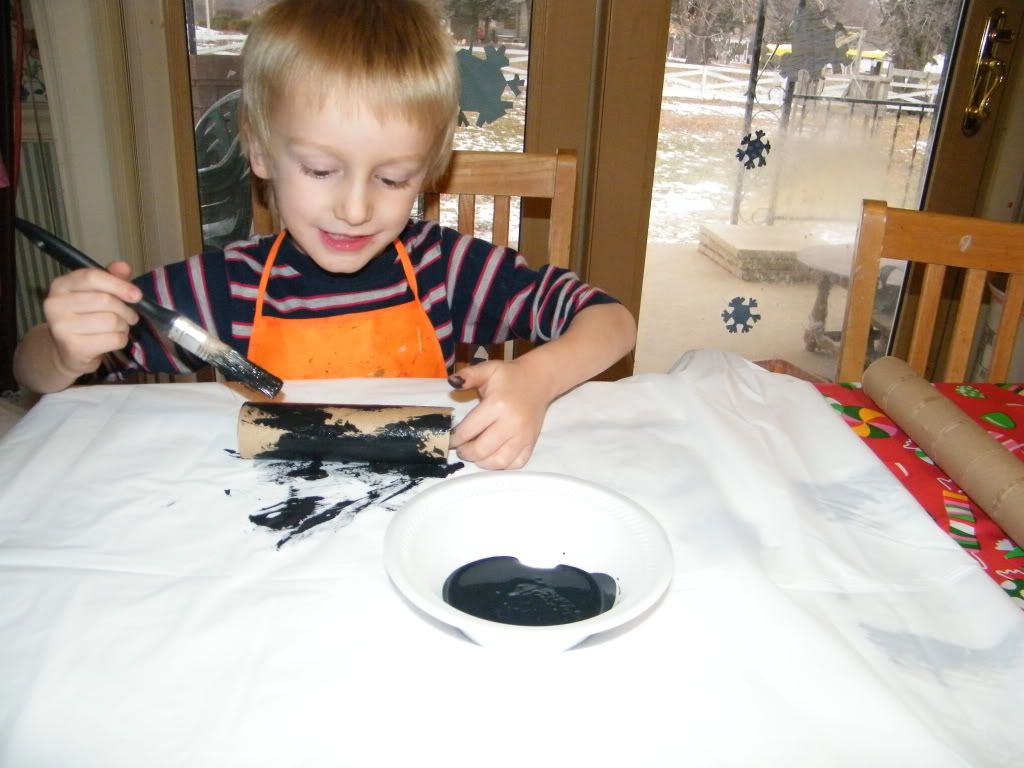
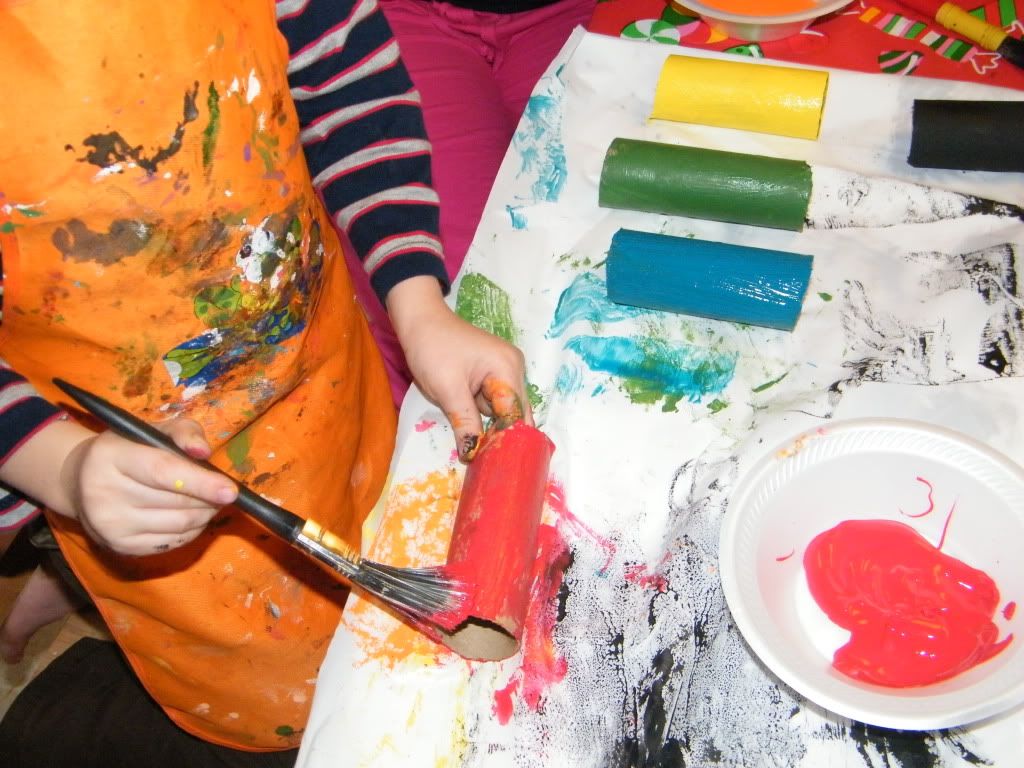
Paint the empty tube rolls various colors.  We used black, red, orange, yellow, green and blue (but you can make as many cars and use as many colors as you like).


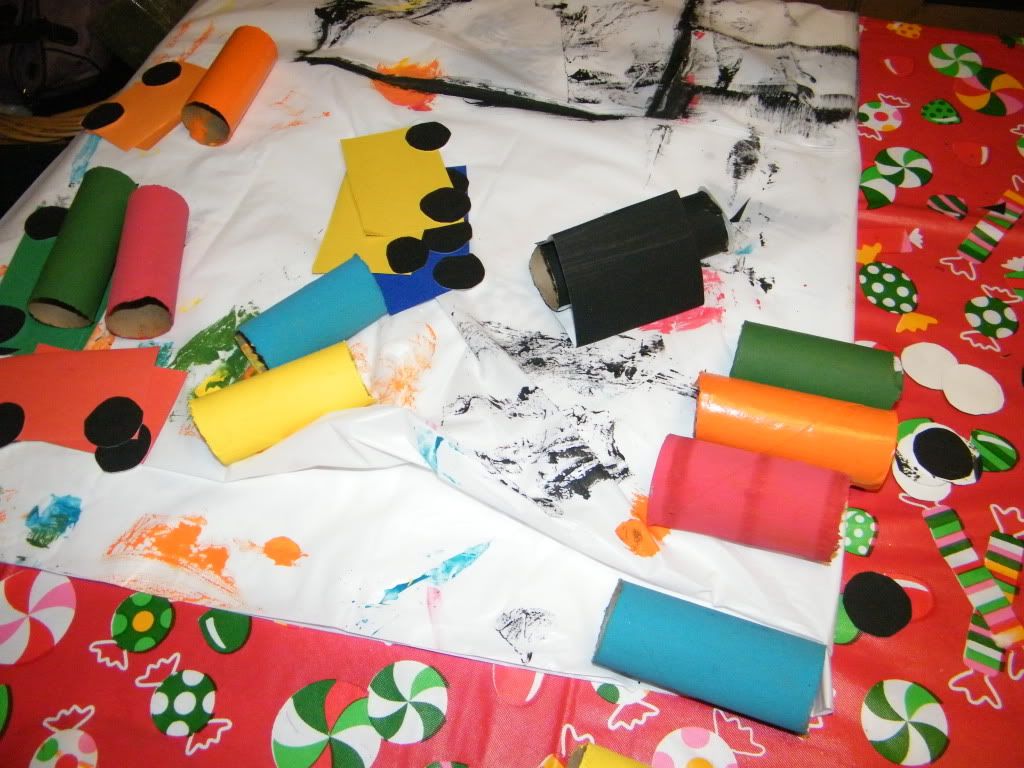
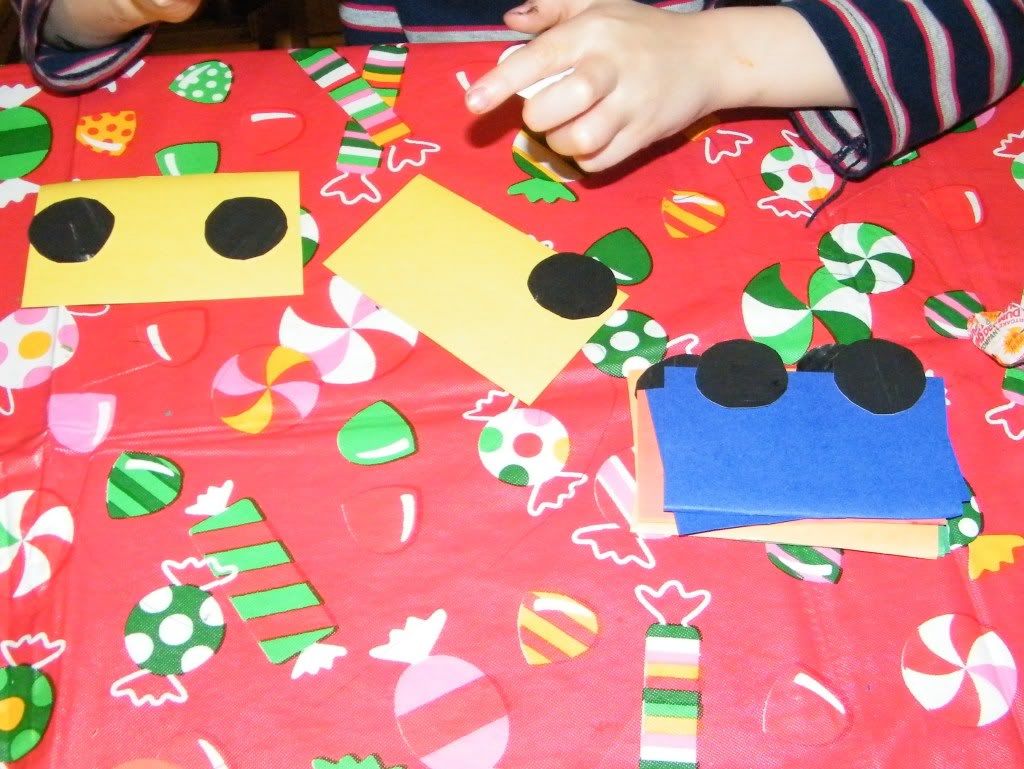
I used black poster board to make some wheels and also used matching poster board (matched to the paint colors) for the side panels of the cars.   *Hint - if you don't have colored poster board, you can paint white poster board, the board is sturdy enough to hold the paint without it seeping or bleeding through.

  I cut the rectangle shapes to fit the size of the tubes.  The boys then used glue sticks to glue the wheels to the side panels


While the paint on the tubes dried the boys watched the Polar Express movie.

I cut out a black circle to cover the front of the train (the opening of the tube) and made a long rectangle to go over the train (fold into three's to make sides and a roof).  You can also make windows or add little decorations like stickers or whatever you like to the train when it is dry.


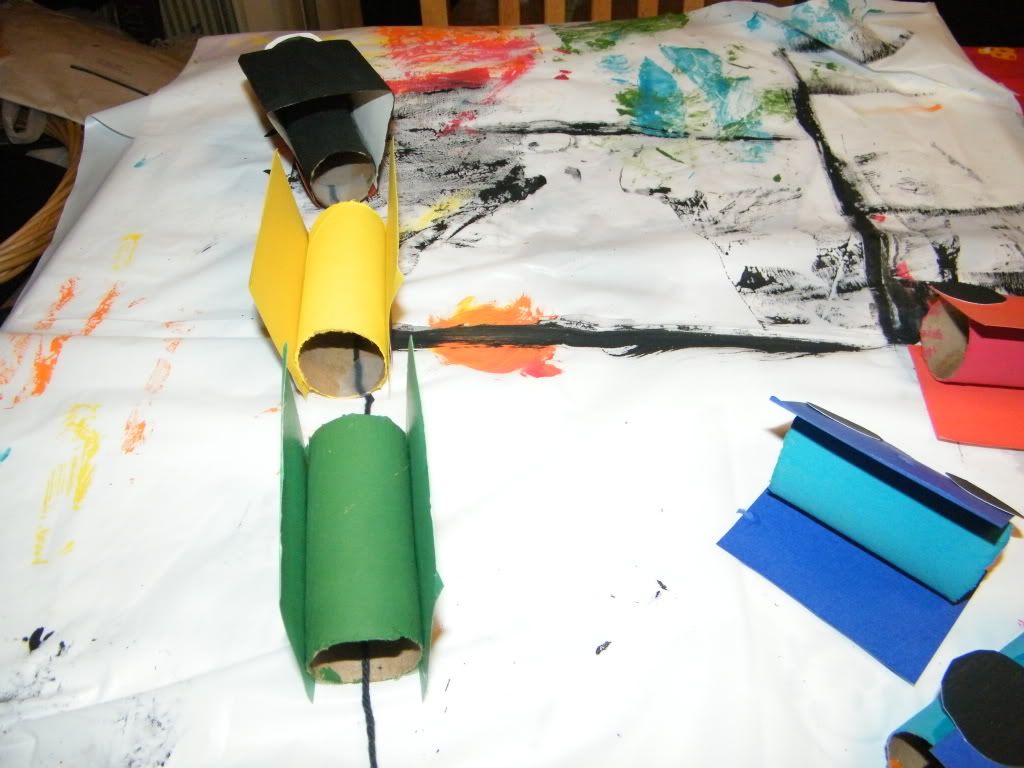
Glue the side panels to the painted tubes.  This is where the tacky glue comes in handy.  You want the wheels to hang over the sides of the tube.


Assemble the train by threading the yarn through the tubes and then taping the yarn to the inside of the tubes.


and there you have it...a sweet little train craft for little ones to enjoy!
 

Isn't the train just adorable?! LOVE it!  
 
(and not to mention, that little cutie and how adorable he still is)
 
are you doing the 25 days/25 books with your little ones?
come share your ideas with me on facebook


Monday, December 02, 2013

Santa Advent Calendar

 
Nathan and I read the book I've Seen Santa written by David Bedford and illustrated by Tim Warnes.
 
 
This is a cute book about a bear family.  The little bear wants to stay awake and wait for Santa to come and visit.  After his parents put him to bed, he keeps sneaking downstairs to wait for Santa.  The first time he thinks he sees Santa, it's really his dad drinking Santa's milk.  The second time, he thinks he sees him, it's his dad once again eating Santa's cookies.  Then he spies his mom sneaking presents in the stockings.  His parents finally give in and decide to wait for Santa together.  They never do see Santa because they fall asleep, but Santa sees them.
 
Then we made a Santa Advent Calendar
 
 
We used a paper plate, white and red construction paper, google eyes, a red pompom, cotton balls, glue and a stapler.
 
Nathan painted the paper plate with a flesh colored paint.
 
 
Then he cut out a hat using the red paper.  He glued the eyes, nose and hat to the plate.
 
 
He also glued cotton balls to the hat and face for a moustache and beard.
 
 
Next, he took the white paper and made a paper chain with it.


We attached a ribbon at the top to hang it with and
we stapled the chain to the bottom of the face to look like a beard.
 
 
Each morning Nathan can rip off one link of the chain,
while he waits for the night that Santa will visit him.

 
Are you ready to see Santa?